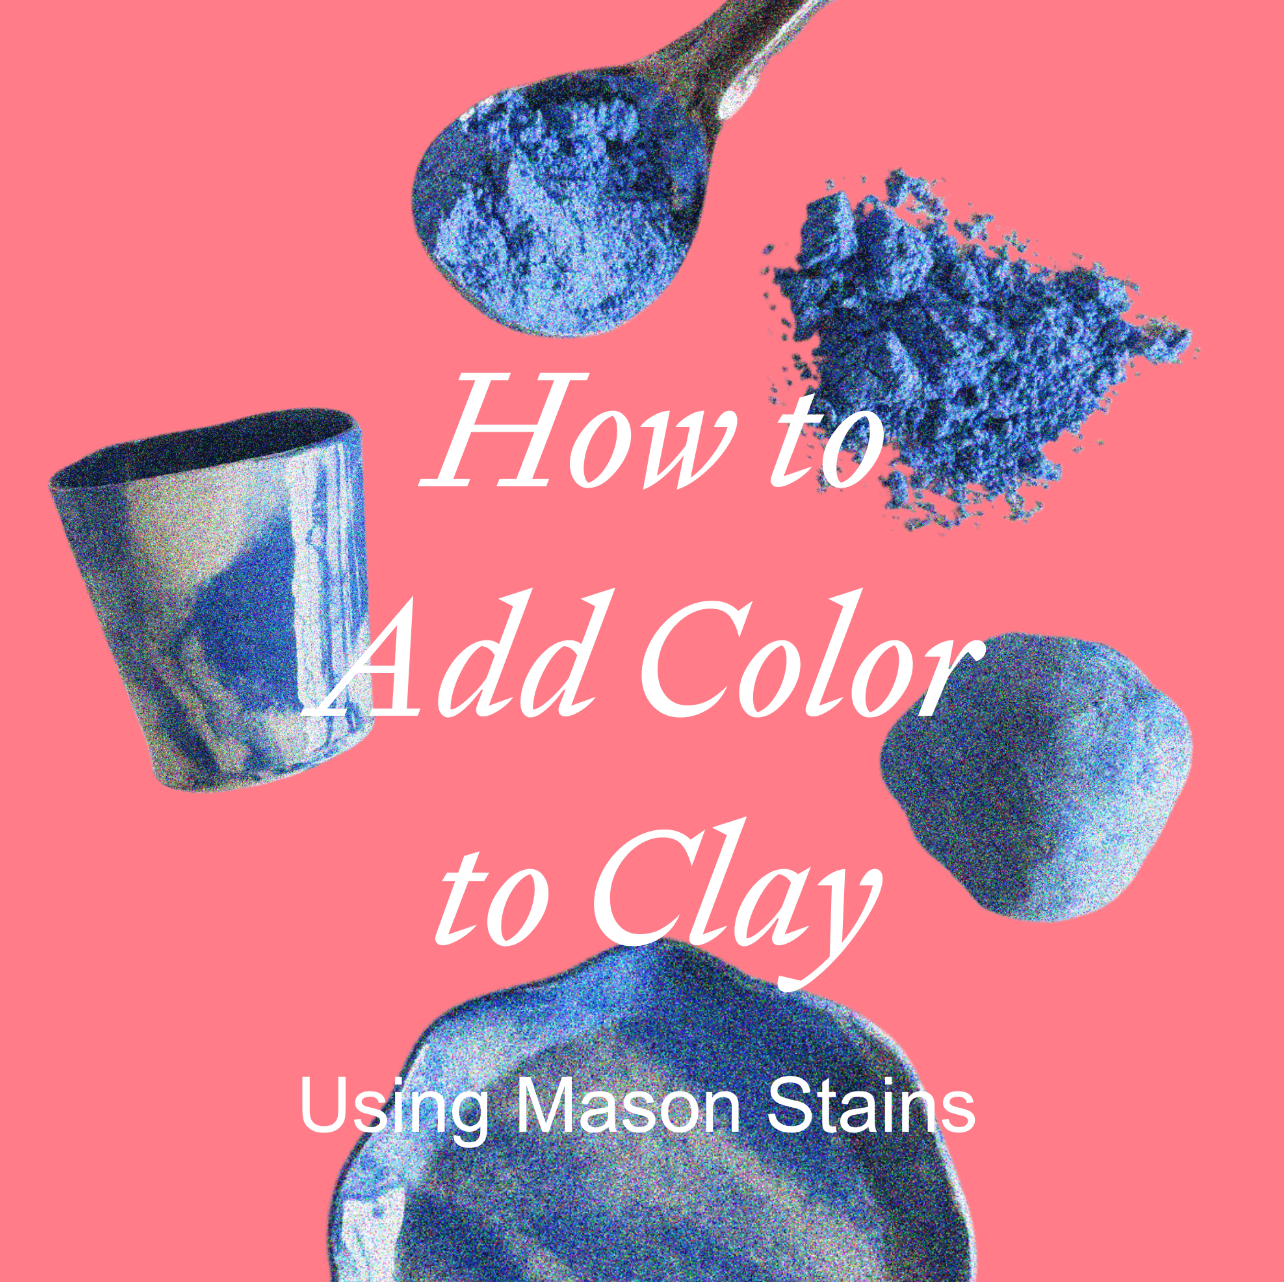
How to Use Mason Stains in Ceramics?
How to Apply Color to Clay with Mason Stains: Step-by-Step Tutorial
Are you looking to add vibrant, consistent colors to your ceramic projects? Mason stains are the perfect solution for potters of all skill levels. In this comprehensive guide, I'll walk you through the process of coloring clay with these professional-grade ceramic colorants.
Materials You'll Need
Mason stains (available in various colors)
Wooden mixing stick
Clay body (porcelain, stoneware, or earthenware)
Mixing container
Water
Digital scale for precise measurements
Protective gloves
Important Notes on Clay & Firing
Mason stains achieve their best color results at cone 6 firing temperature
Ensure your clay body can be fired to cone 6 for optimal results
Always use white clay for true colors — beige or dark clay bodies will significantly alter the final color appearance
The colors shown in this guide are based on white stoneware or porcelain clay bodies
Why Mason Stains Are Perfect for Ceramic Artists
Mason stains offer consistent, reliable coloration that maintains its vibrancy even after firing. Unlike oxide colorants, these commercially prepared stains provide predictable results every time, making them ideal for both beginners and professional ceramicists.
Understanding Color Intensity
The amount of stain you add determines the color intensity:
Saturated color: 18% pigment
Medium tone: 10% pigment
Pale/pastel: 5% pigment
What does this mean in practice? For every 1000g of clay:
Saturated pink = 180g of pink pigment
Medium pink = 100g of pink pigment
Pale pink = 50g of pink pigment
💡 Tip: My How to Add Color to Clay PDF includes a quick-custom calculator so you can mix colors without doing the math every time.
Step-by-Step Process
Prepare your workspace
Work in a well-ventilated area
Wear your dust mask and gloves
Cover your work surface with canvas or plastic
Weigh your clay
Start with a manageable amount (500g-1000g)
Use dry clay or slightly damp clay for best results
Calculate your stain amount
For 500g of clay at medium intensity (10%): 500g × 0.10 = 50g of stain
Mix the stain
Weigh your chosen stain carefully
Add the stain to a small amount of water to create a slurry
Mix thoroughly to eliminate clumps
Incorporate into clay
Add the stain slurry to your clay
Mix thoroughly by wedging or kneading
Continue until the color is evenly distributed
If the clay becomes too wet, allow it to dry slightly
Creating marbled effects
For marbled clay, don't mix completely
Gently fold colored clay into plain clay
Stop when you achieve desired marbling pattern
Tips for Success
Always wear a mask when handling dry stains
Add stain gradually for more control
Test small batches before making large amounts
Keep colored clay wrapped in plastic when not in use
Label your colored clay with stain type and percentage
Troubleshooting
Uneven color: Continue wedging until color is uniform
Too pale: Add additional stain in small increments
Too intense: Mix with plain clay to dilute
Clay too wet: Allow to dry on plaster or canvas
Clay too dry: Lightly mist with water while mixing
Ready to take your colored clay work to the next level?
✨ Get the How to Add Color to Clay PDF
Questions?
Drop them below or reach out to fran@fromfran.com


