
How to Transfer Drawings to Pottery: 2 Methods Every Potter Should Know
Are you wondering how to transfer drawings onto pottery or how to transfer handwriting to pottery? You're not alone! Many pottery enthusiasts struggle with getting their artwork onto ceramic pieces without losing detail or dealing with smudged, unprofessional-looking results.
The good news? There are two proven professional methods that ceramic artists use to achieve stunning, gallery-worthy transfers every time. Whether you want to add personal handwriting to a mug or transfer intricate artwork onto a vase, mastering these techniques will transform your pottery from amateur to professional.
Why Most Pottery Transfers Fail (And How to Avoid These Mistakes)
Before diving into the methods, let's address why so many pottery transfers go wrong:
Using the wrong type of transfer paper - This is the #1 mistake that ruins pieces
Incorrect timing during the transfer process - Too fast or too slow both cause problems
Skipping crucial preparation steps - What you do before transferring determines success
Not understanding firing compatibility - Your materials must work together
The difference between amateur and professional results often comes down to knowing these critical details that aren't obvious to beginners.

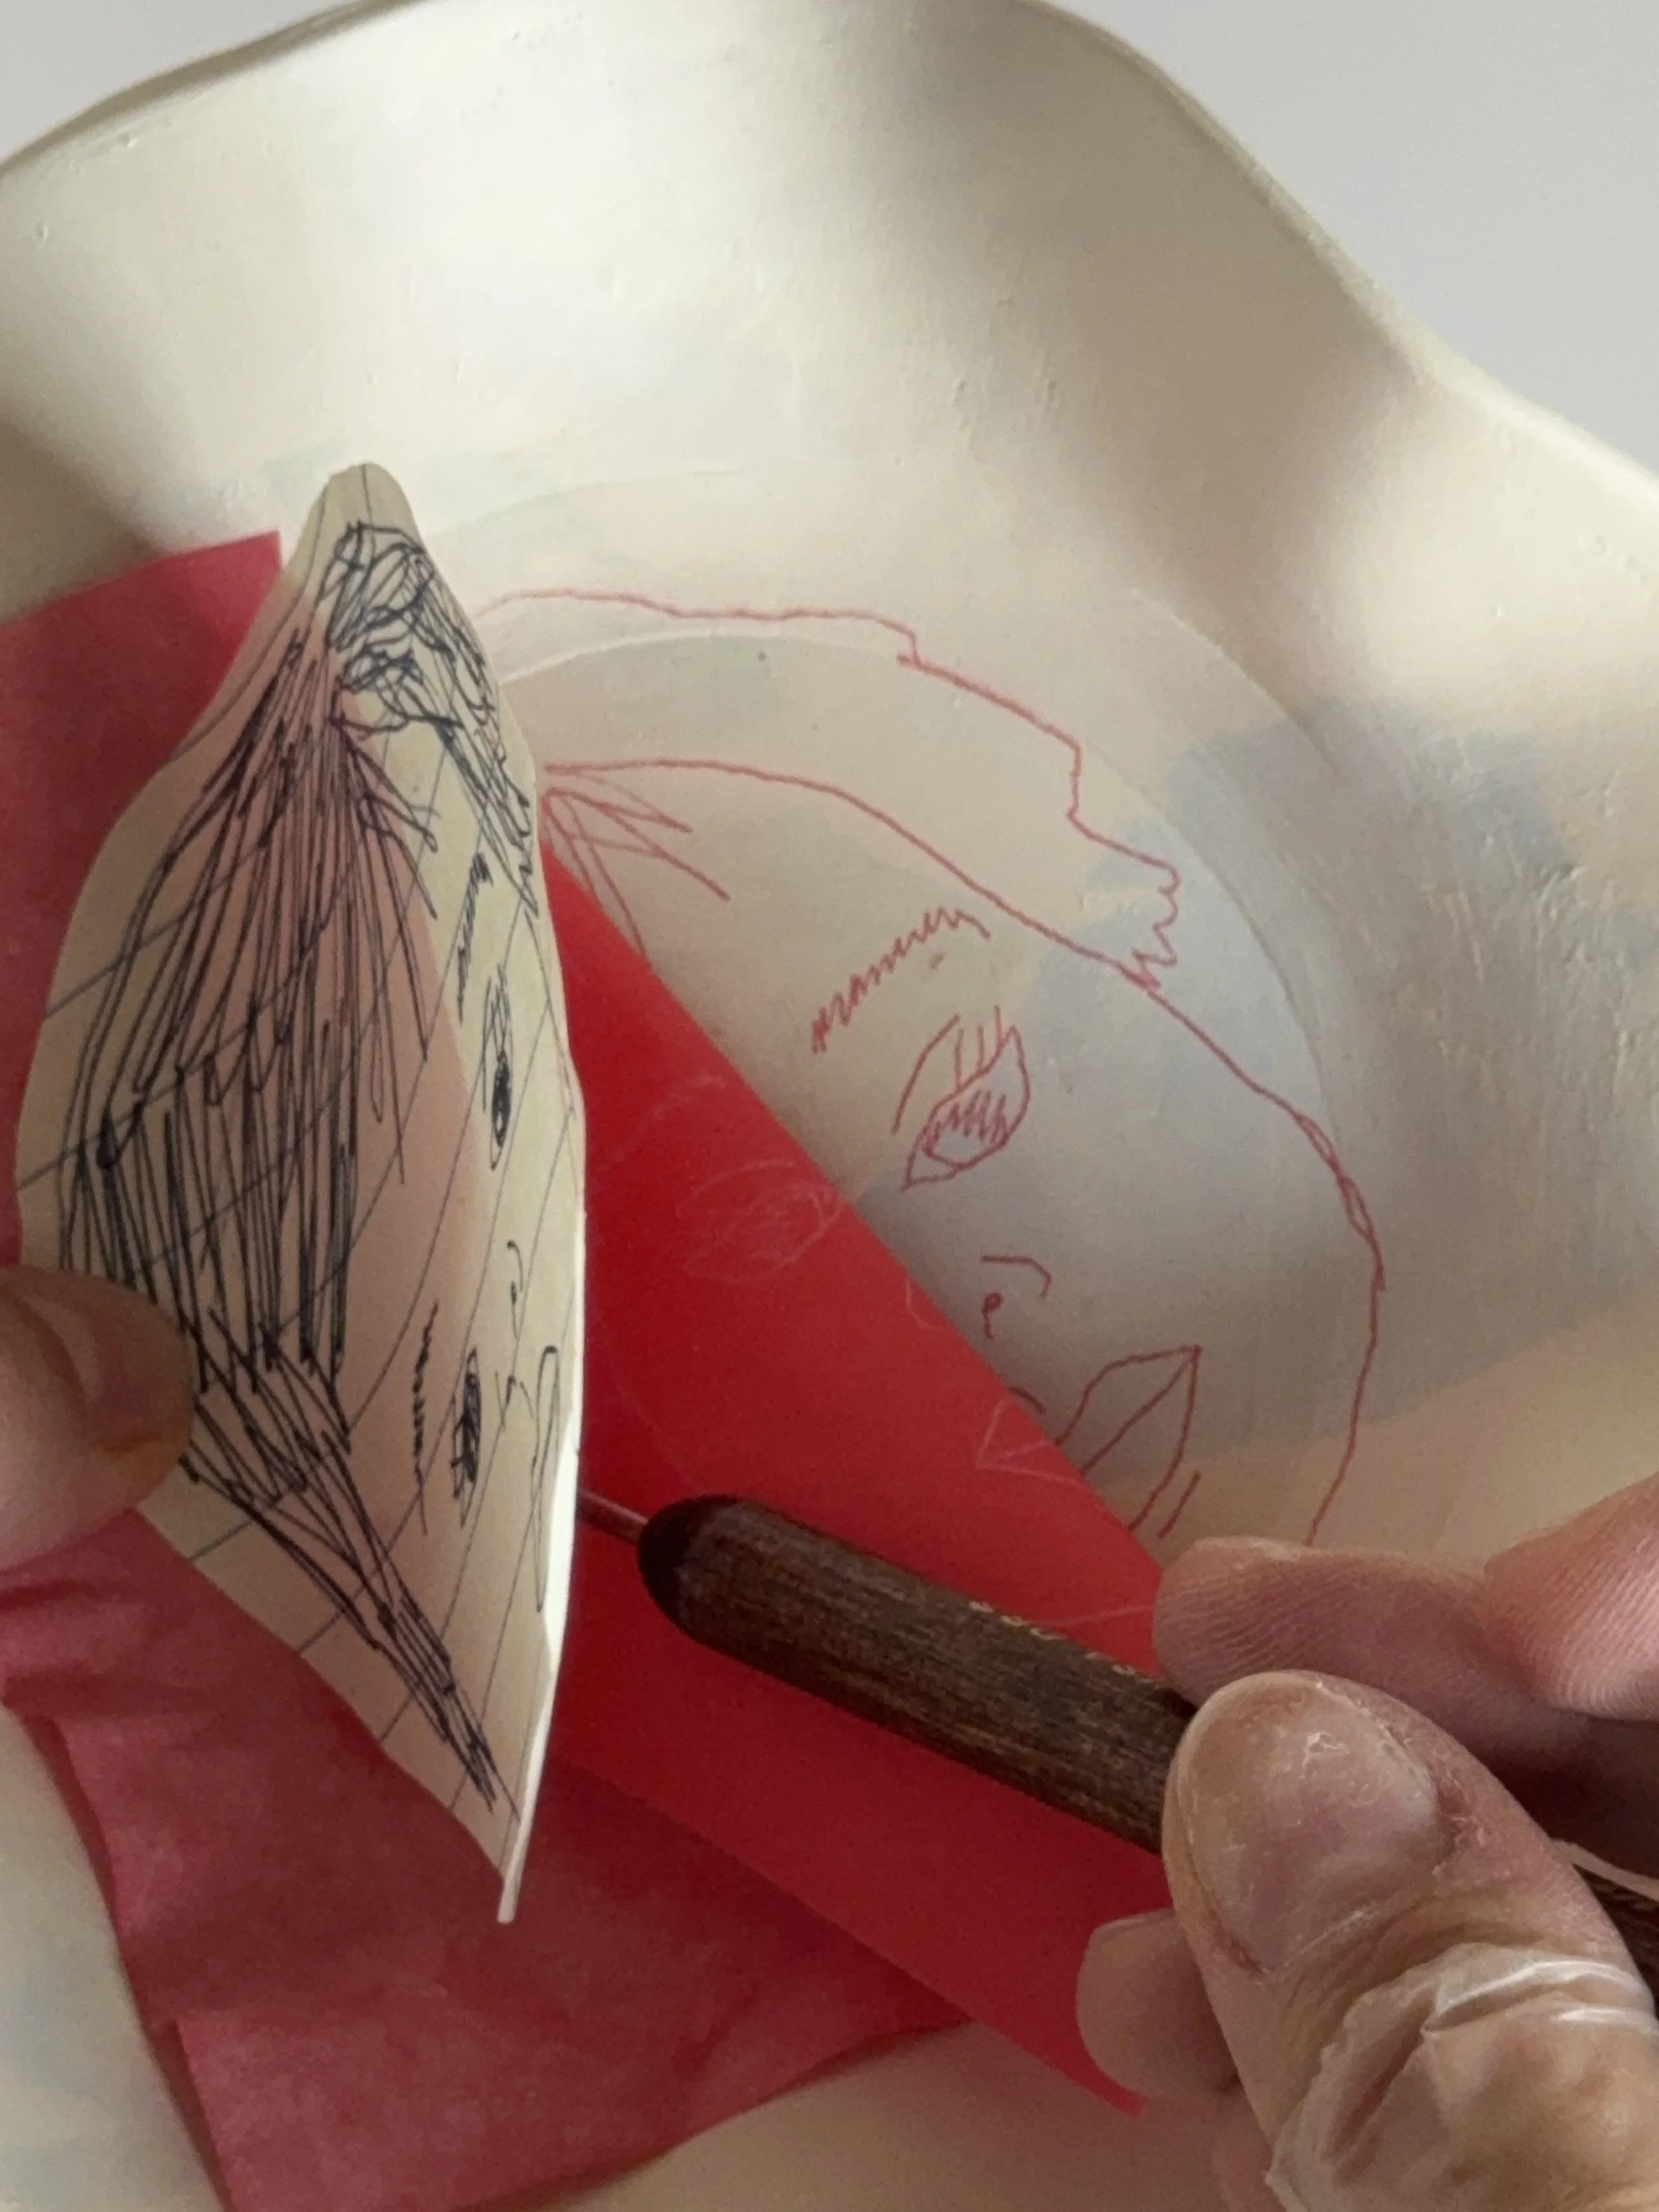
Method 1: The Transfer Paper Technique
This method is perfect for hand-drawn designs and maintaining that organic, artistic feel. It's ideal for:
Simple outlines and graphic designs
Handwritten text and quotes
Sketches and line drawings
Artists who love the handmade aesthetic
The key to success? Using the right type of transfer paper and following the proper layering sequence. Many potters make a costly mistake by choosing the wrong transfer paper type, which creates problems during the glazing process - potentially ruining the entire piece.
What makes this method tricky: The pressure, timing, and enhancement steps require specific techniques that aren't intuitive. Too little pressure and nothing transfers; too much and you damage your piece.
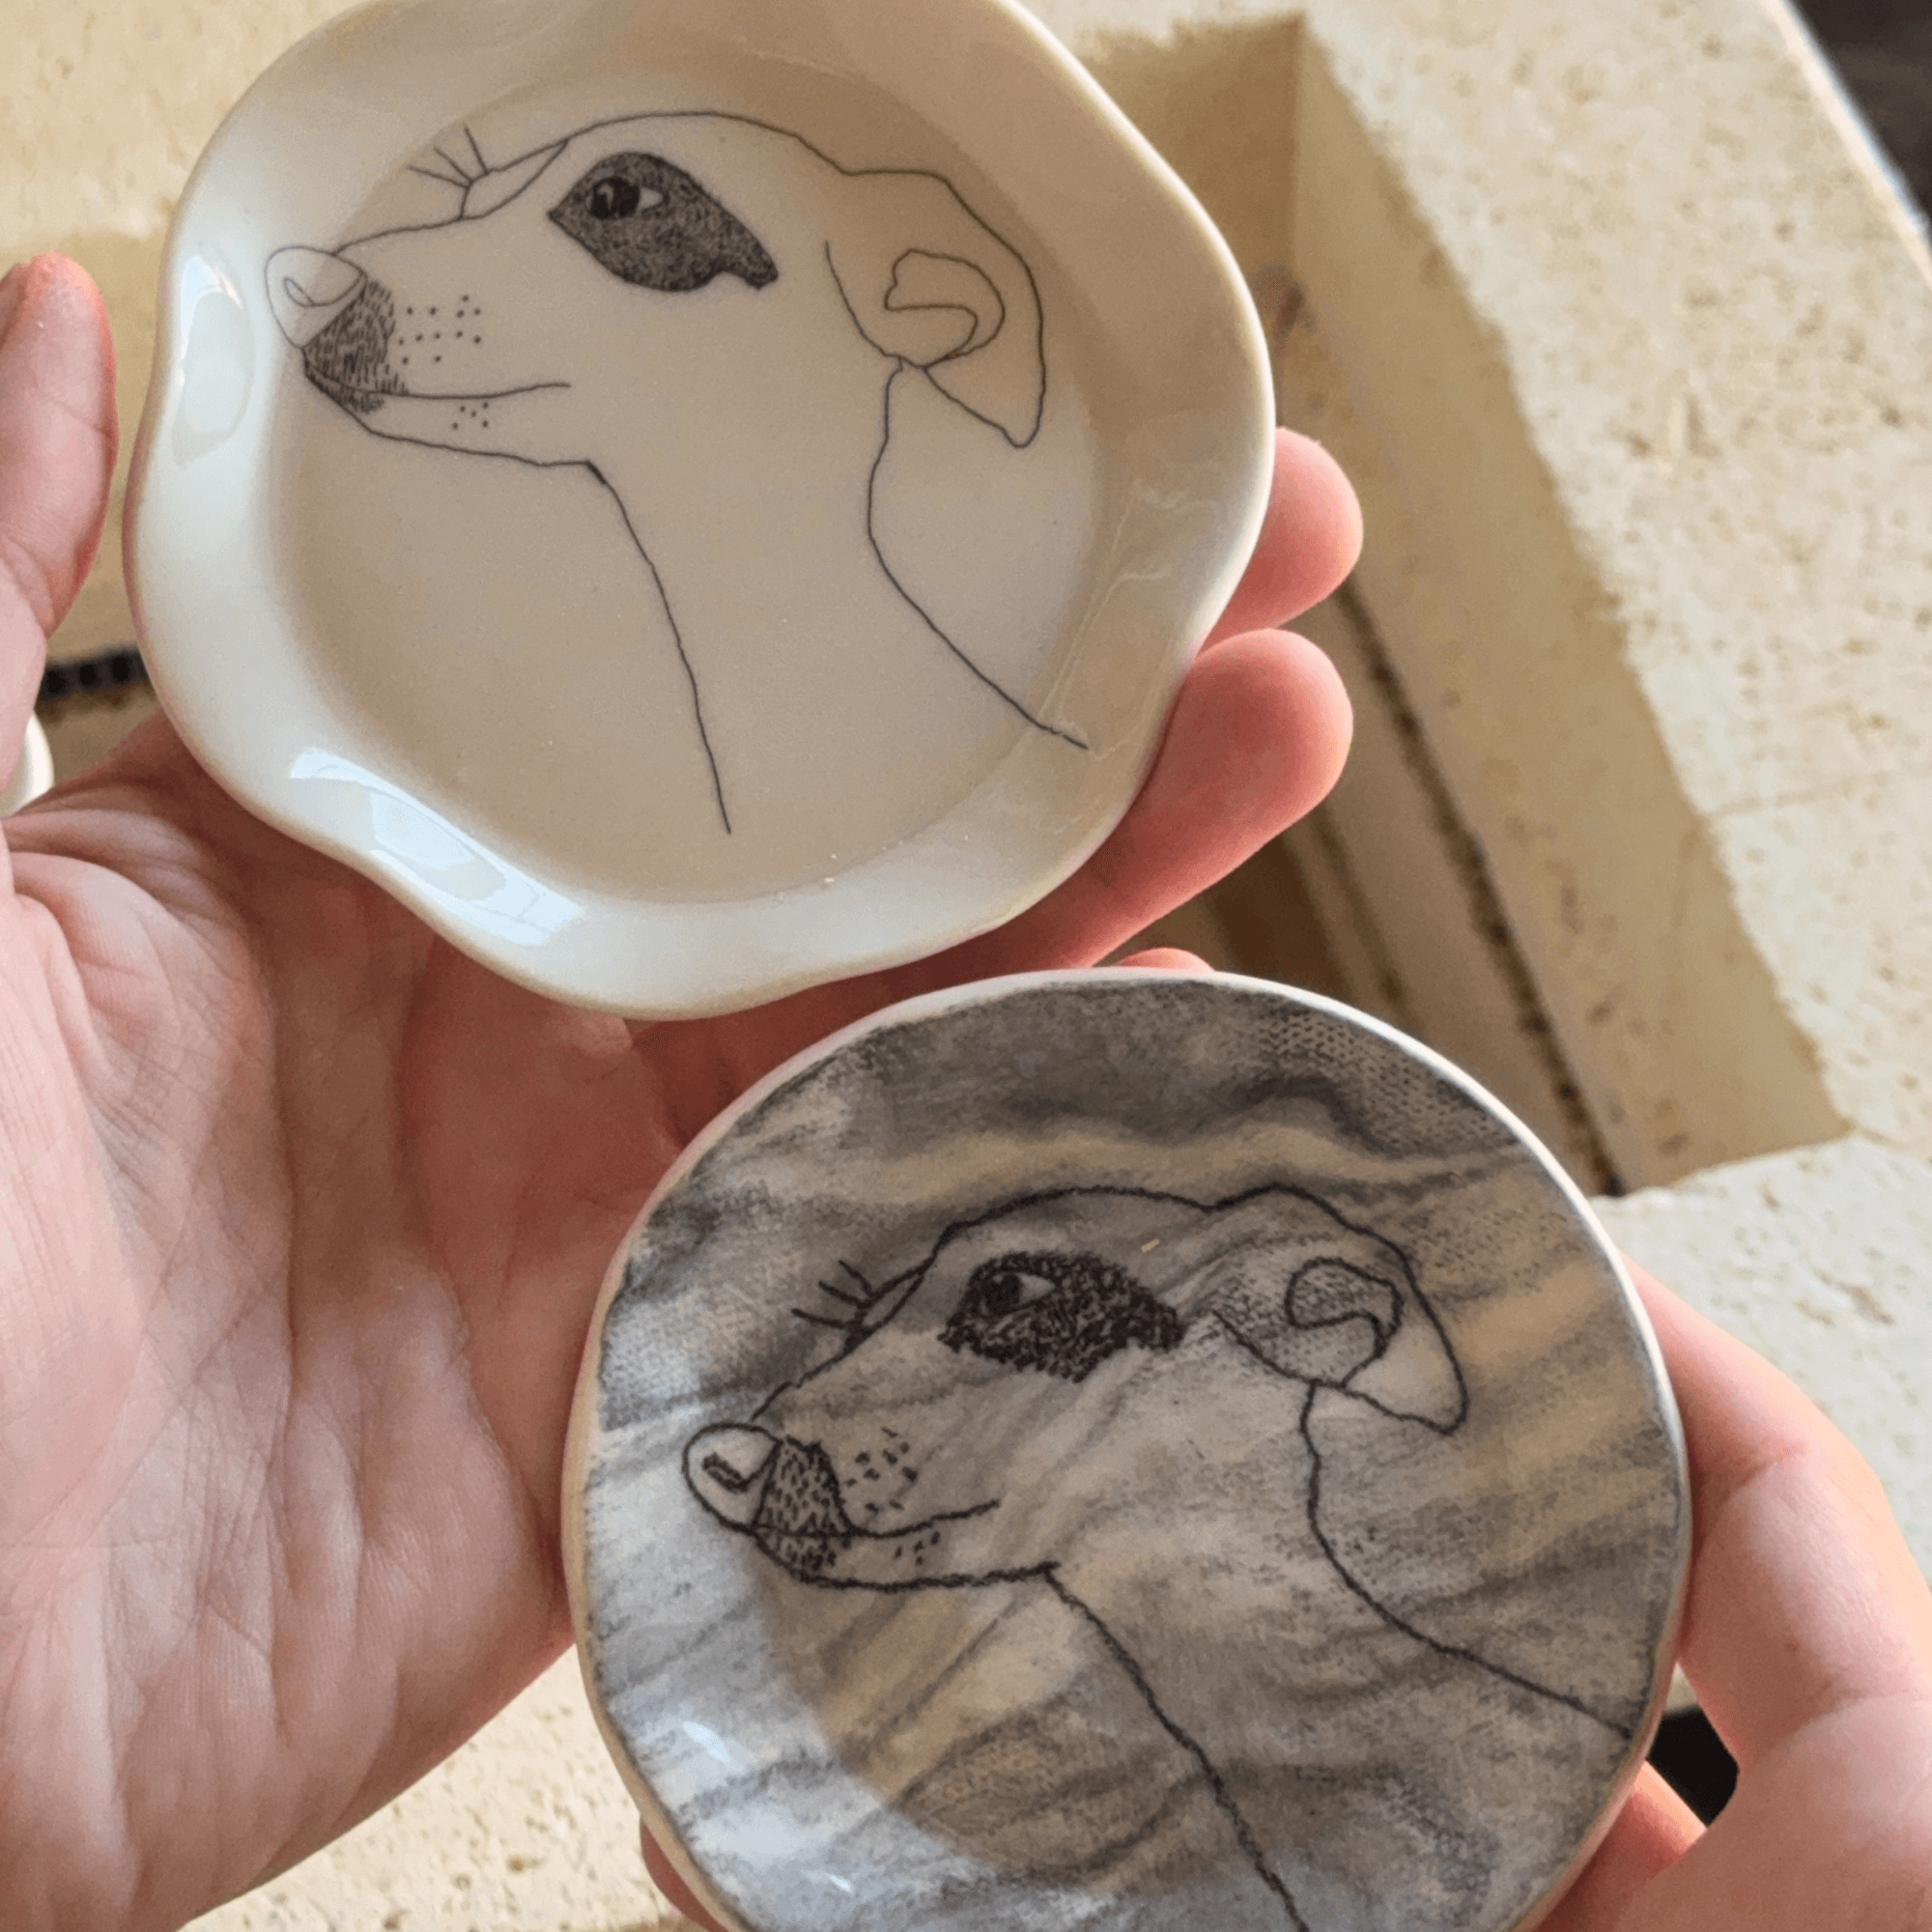
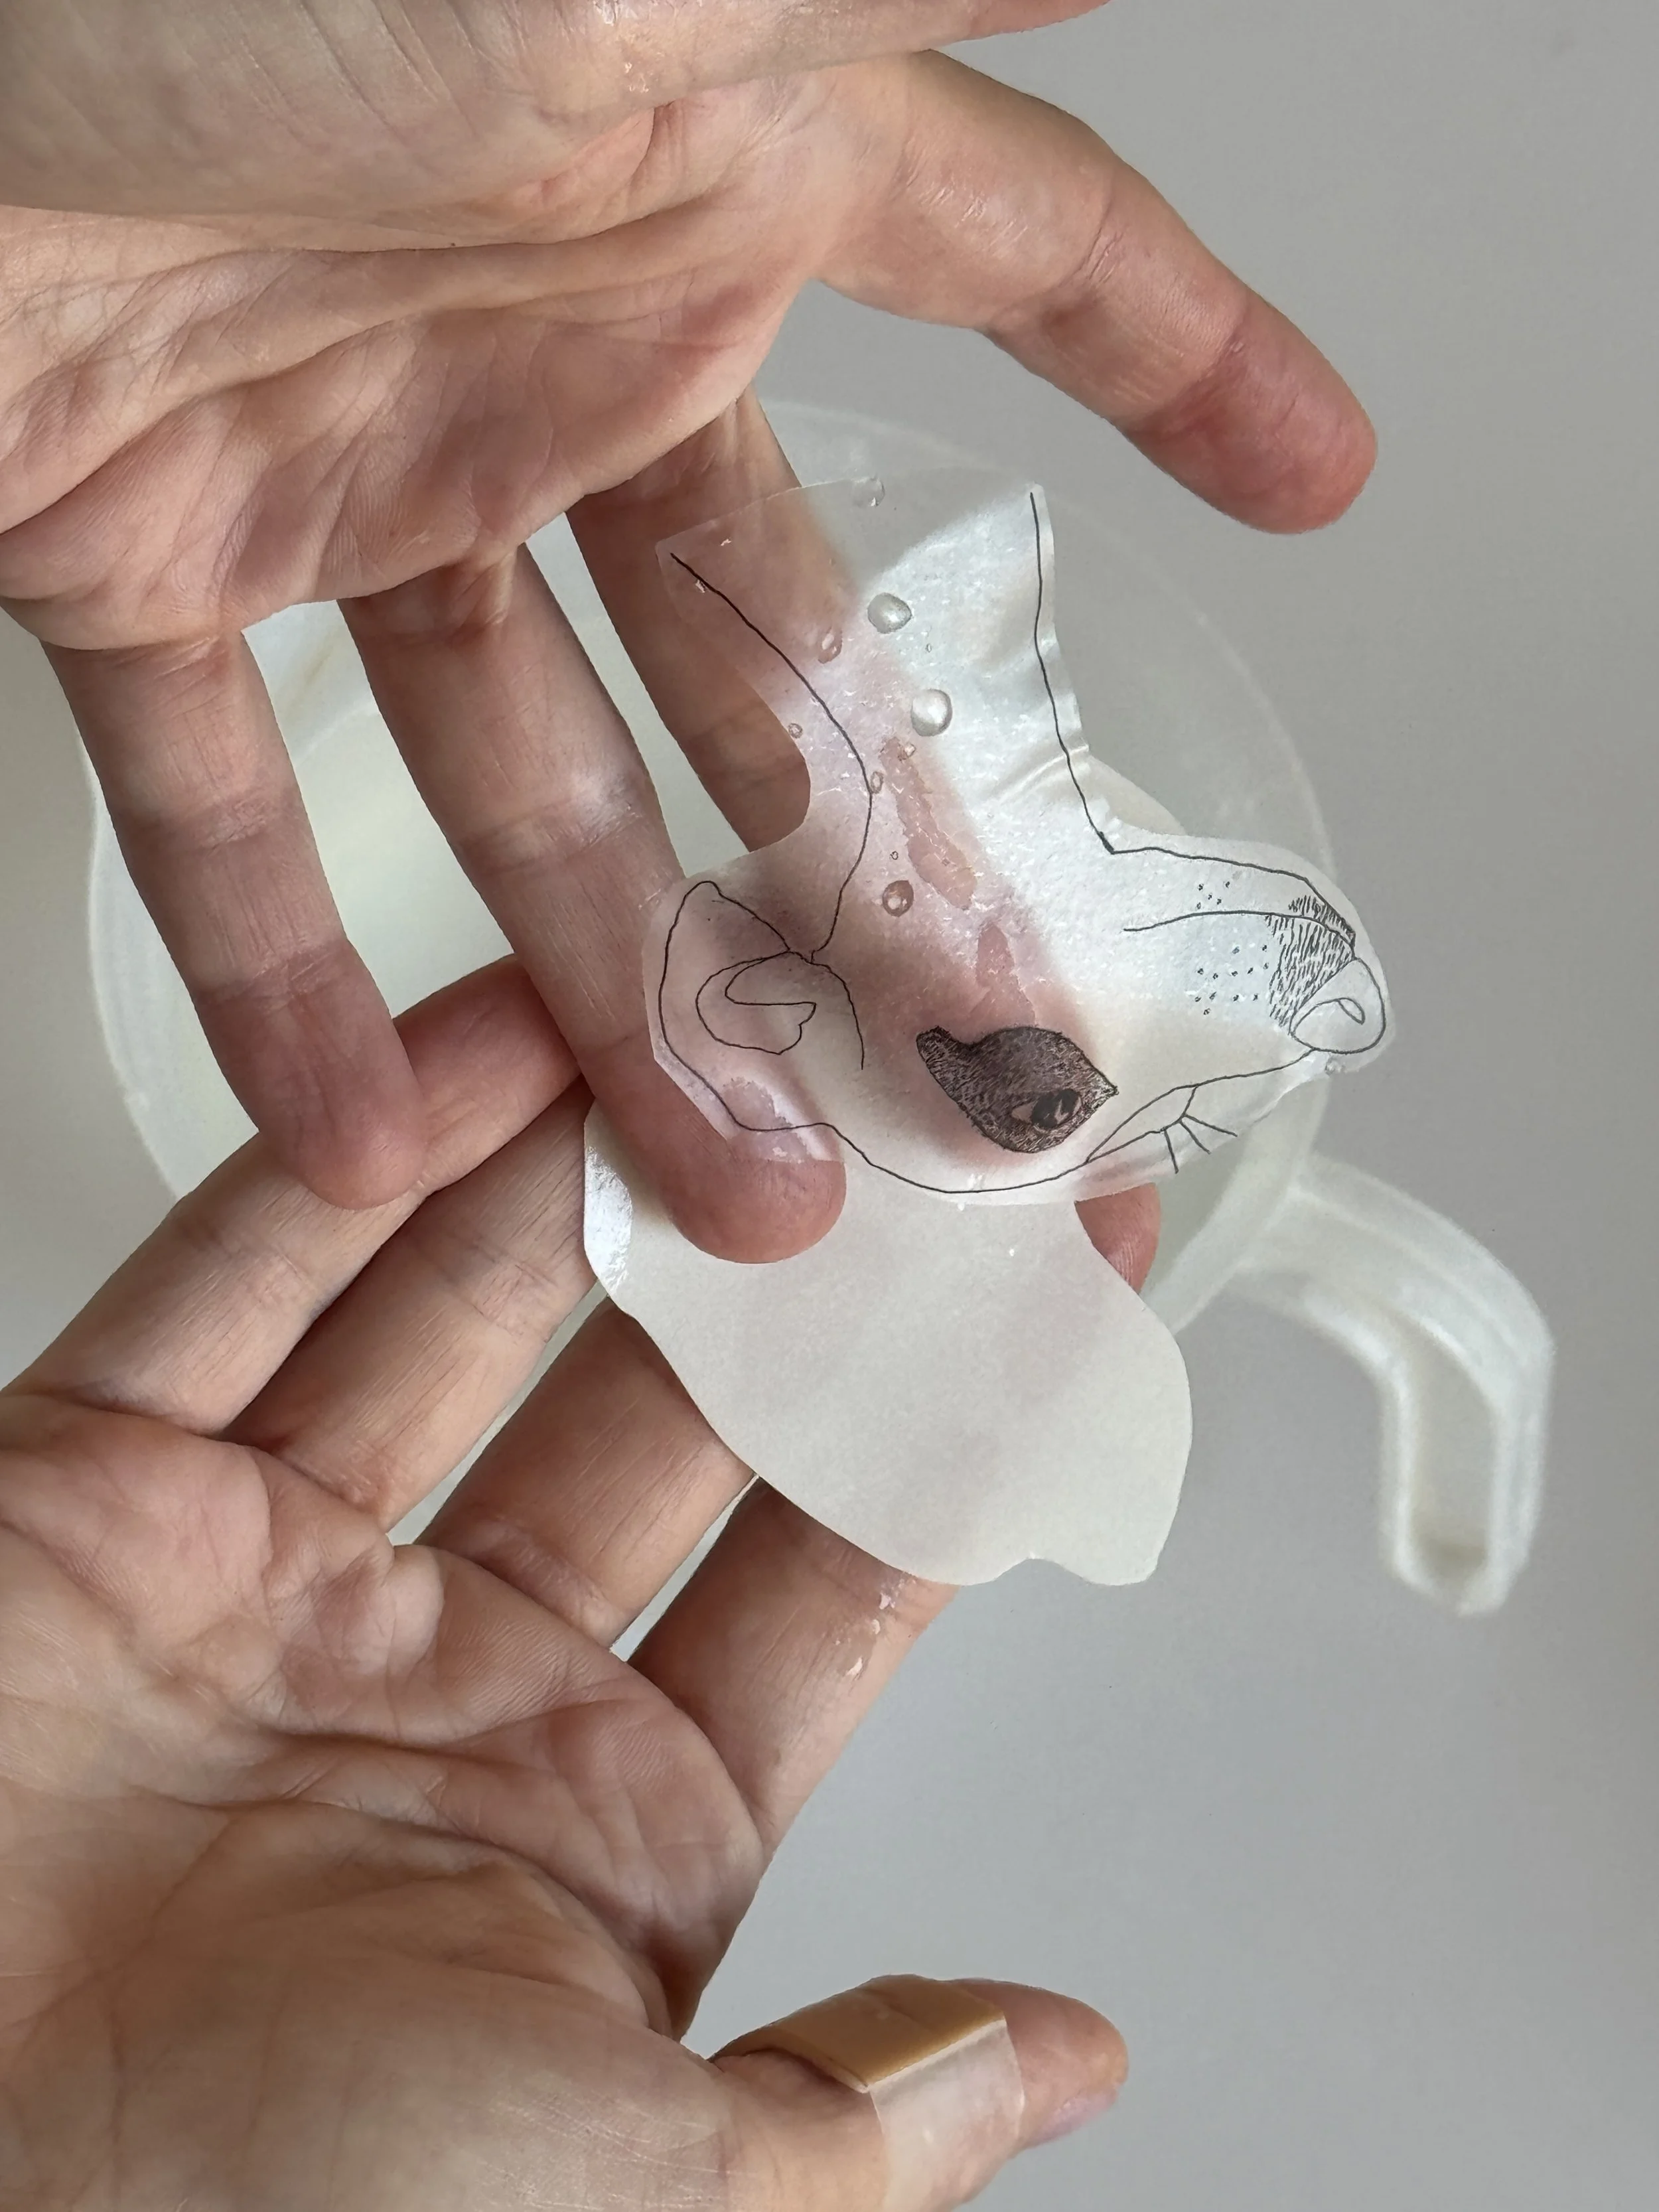
Method 2: The Ceramic Decal Technique
For detailed designs, precise reproduction, and professional finishes, ceramic decals are the gold standard. This method excels at:
Intricate artwork with fine details
Photographic images
Complex patterns and designs
Consistent reproduction across multiple pieces
The secret most don't know: Timing is everything with decals. Soak them too long and they become impossible to position correctly. Too short and they won't release properly. There's a precise 30-second window that makes all the difference.
The professional touch: The way you remove air bubbles and water determines whether your design survives the firing process. Trapped air creates pinholes that ruin hours of work.
Converting Your Artwork: Digital vs. Hand-Drawn
Many artists struggle with getting their hand-drawn artwork ready for ceramic decals. The digitization process requires:
Specific DPI settings for ceramic printing
Proper file formats that decal suppliers accept
Color mode adjustments for accurate reproduction
Resolution considerations for different pottery sizes
Pro tip: The tools you use for digitization dramatically affect the final quality. Some methods preserve artistic style while others make artwork look sterile and lifeless.
The Critical Details That Make or Break Your Transfer
Both methods have crucial steps that beginners often skip or do incorrectly:
Surface preparation: The difference between a transfer that lasts decades and one that peels off in months often comes down to how you prepare your pottery surface.
Material compatibility: Not all underglazes, glazes, and firing temperatures work together. Using incompatible materials can cause cracking, color shifts, or complete transfer failure.
Timing sequences: Each step has an optimal timing window. Rush the process and you'll get poor adhesion. Wait too long and materials dry out or become unworkable.
Troubleshooting Common Transfer Problems
"My transfers always look faded or incomplete" This usually indicates pressure or material issues during the initial transfer phase.
"The design smudges when I apply glaze" There's a specific technique for glazing over transfers that prevents smudging - most tutorials don't mention this crucial step.
"My decals bubble or create holes during firing" This is the #1 firing problem with decals, and it's completely preventable when you know the proper removal technique.
Where to Source Professional Materials
Not all transfer papers and decals are created equal. Using cheap materials from general craft stores often leads to frustration and failed projects. Professional ceramic suppliers offer:
Transfer papers designed specifically for ceramics
High-quality ceramic decals with reliable adhesion
Underglazes and pencils that work at ceramic firing temperatures
International sourcing tip: Many quality ceramic transfer materials aren't available in all countries, but there are reliable alternatives if you know what to look for.
Ready to Master Professional Pottery Transfers?
Both methods can produce stunning results when done correctly, but the devil is in the details. The difference between amateur and professional results comes down to:
Understanding the precise material requirements
Following the correct step-by-step sequences
Knowing the timing windows for each phase
Using proper techniques for surface preparation and finishing
Troubleshooting problems before they ruin your piece
Want to see exactly how the professionals do it?
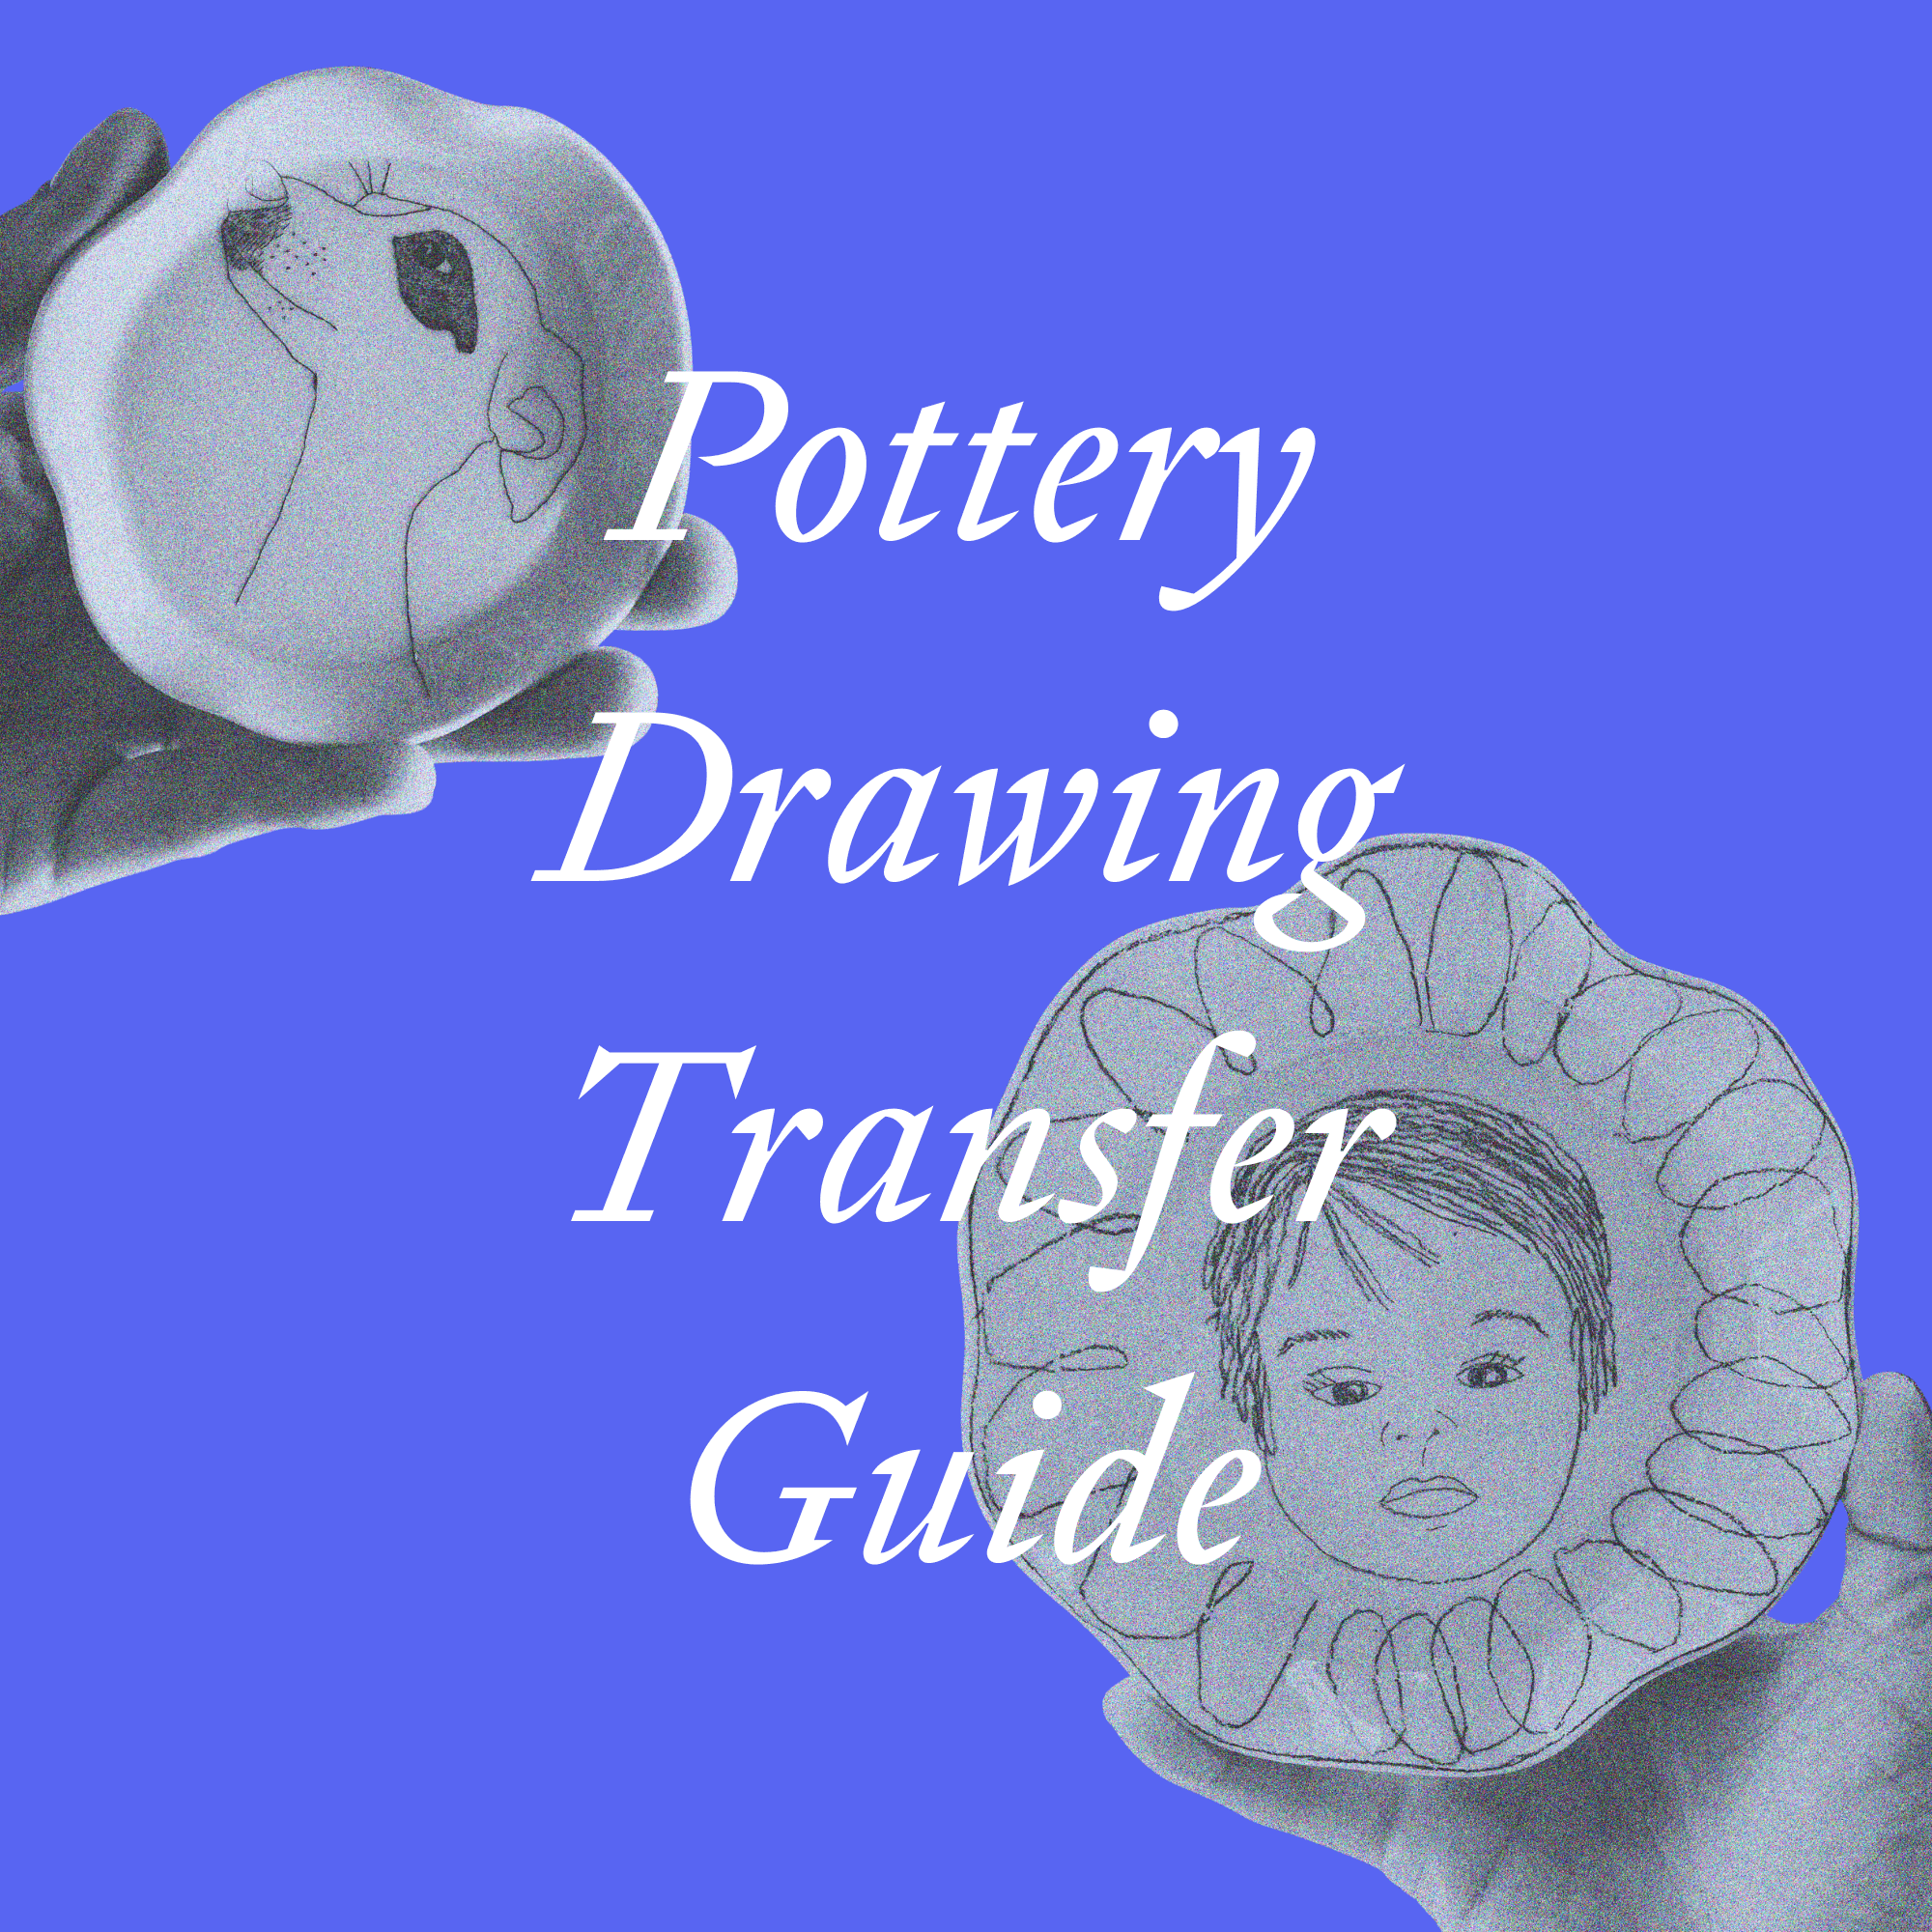
My comprehensive "Pottery Drawing Transfer Guide" walks you through both methods with detailed step-by-step instructions, professional tips, and troubleshooting advice. You'll get:
✓ Exact material specifications and supplier recommendations
✓ Step-by-step photo tutorials showing proper technique
✓ Professional tips that ensure consistent results
✓ International support to source alternatives for hard-to-find materials
Stop struggling with failed transfers and amateur-looking results. Get the professional techniques that ceramic artists use to create gallery-worthy pottery pieces every time.
Stop struggling with transferring your drawings to pottery! This step-by-step guide reveals two reliable methods: transfer paper for handmade charm and decals for precision detail.
Includes:
Visual step-by-step tutorials with photos
Complete materials lists
Pro tips from years of testing
Support if necessary, especially for international ceramicists who need local alternatives for the materials
Transform your ceramic pieces with confidence. Clear instructions, proven techniques, real results.
Follow @from_fran on Instagram for daily pottery tips and inspiration.